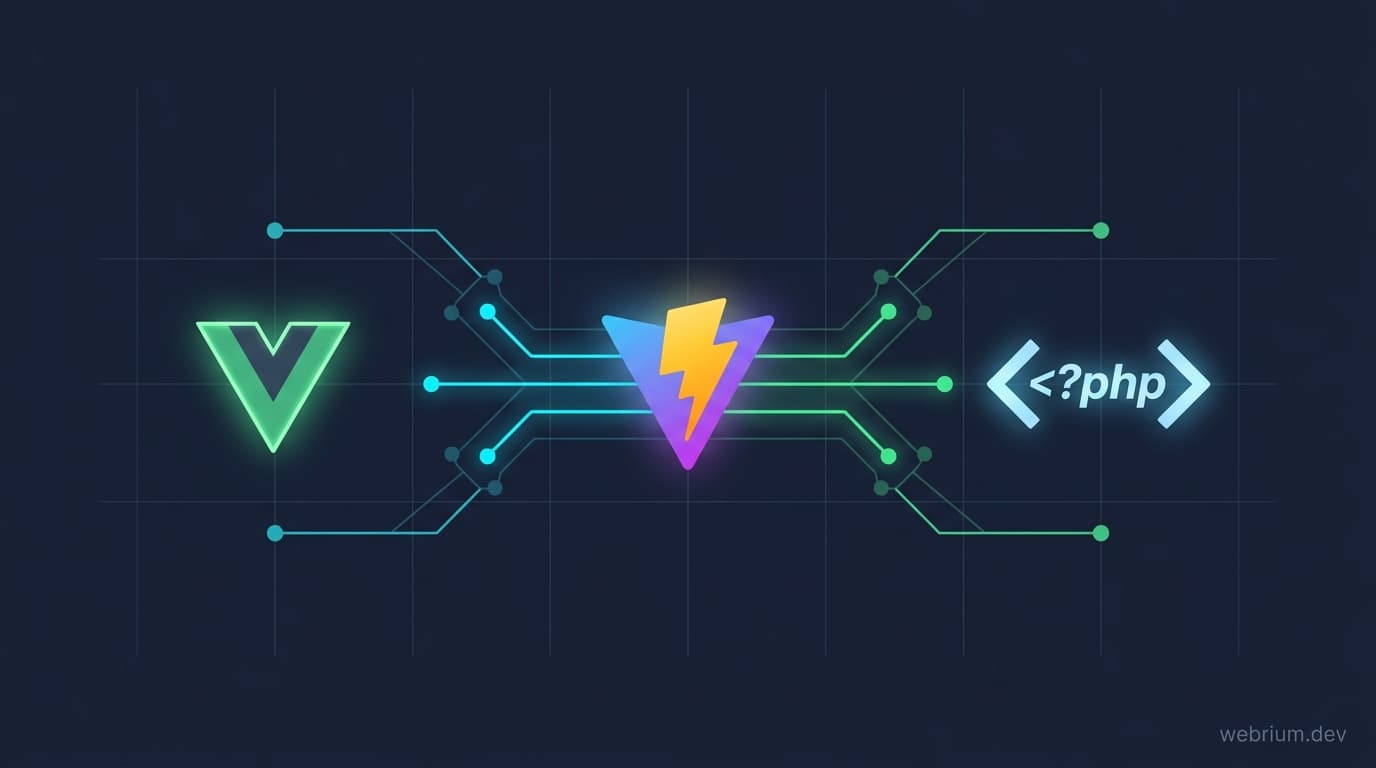
Webrium ships with Vite out of the box, and Vite is not tied to any single frontend technology. The default resources/js/app.js entry point is plain JavaScript plus Tailwind CSS, but you can add Vue.js, React, or any other Vite-supported framework as an additional build entry, without touching how Webrium serves the rest of your app.
This guide wires up a small Vue.js example — mounted inside its own Webrium view — that proves everything is connected correctly. The same pattern works for any part of your app you want to build as a Vue “island” — an admin panel, a dashboard, a single interactive widget — while the rest of the site stays server-rendered PHP.
Two Ways to Do This
- Install the vue-starter plugin — creates the controller, layout, Vite entry, and placeholder component for you in one command. Fastest way to a working setup.
- Follow every step below by hand — the exact same end result, useful if you want to understand what’s happening, or need a different file layout than the plugin gives you.
Either way, three things are always manual — Webrium’s plugin installer can only copy new files, it can’t run shell commands or edit files your project already has: installing the npm dependencies, wiring vite.config.js, and adding the route. This guide covers all of it, so it applies whichever path you pick.
Using the plugin
php webrium plugin:install https://raw.githubusercontent.com/webrium/pub-plugins/main/vue-starter/dist/vue-starter-v1.0.0.zipThis creates the four files from step 3 and step 4 below for you, plus a VUE-STARTER-SETUP.md at your project root repeating the same 3 manual steps. Skip straight to step 1, then step 2, then just the route line from step 5 — the controller file itself is already there.
Doing it by hand
Skip the box above and just work through every step below in order, starting with step 1.
Prerequisites
- A Webrium project with its default Vite setup already in place (vite.config.js, resources/js/app.js, resources/css/main.css).
- webrium/core ^5.2.0 or later (see the note in step 3 if you’re on an older version).
- Node.js and npm installed.
- Project dependencies installed once with npm install.
1. Install Vue and the Vite plugin
From the project root, install Vue itself and the official Vite plugin that compiles .vue single-file components:
npm install vue
npm install -D @vitejs/plugin-vue
2. Register the plugin and add a second build entry
Webrium’s vite.config.js builds a single entry (resources/js/app.js) by default. To keep your main site bundle untouched, give Vue its own entry point instead of mixing it into app.js. Update rollupOptions.input to an object, and register the Vue plugin:
// vite.config.js
import { defineConfig } from 'vite';
import webrium from '@webrium/vite-plugin';
import vue from '@vitejs/plugin-vue';

export default defineConfig(({ command }) => ({
  plugins: [
    webrium(),
    vue(),
  ],
  root: '.',
  publicDir: false,
  base: command === 'build' ? '/build/' : '/',
  build: {
    outDir: 'public/build',
    emptyOutDir: true,
    manifest: true,
    rollupOptions: {
      input: {
        app: 'resources/js/app.js',
        'vue-demo': 'resources/js/vue-demo.js',
      },
    },
  },
  server: {
    cors: true,
    strictPort: true,
    port: 5173,
  },
}));
Only the plugins array and rollupOptions.input changed — everything else is the standard Webrium Vite config.
3. Create the Vue entry point and root component
(Already done for you if you installed the plugin — skip to step 5.)
Reuse your site’s existing resources/css/main.css in the new entry — there’s no need for a separate stylesheet per entry:
// resources/js/vue-demo.js
import '../css/main.css';
import { createApp } from 'vue';
import Demo from './vue-demo/Demo.vue';

createApp(Demo).mount('#vue-demo-app');
<!-- resources/js/vue-demo/Demo.vue -->
<script setup>
import { ref } from 'vue';
const count = ref(0);
</script>
<template>
<div class="min-h-screen bg-base-200 p-6">
<div class="max-w-md mx-auto bg-base-100 rounded-2xl shadow p-6">
<h1 class="text-2xl font-bold mb-2">Vue.js on Webrium</h1>
<p class="text-sm opacity-70 mb-4">
Rendered by Vue, mounted inside a Webrium view.
</p>
<button class="btn btn-primary" @click="count++">
Clicked {{ count }} times
</button>
</div>
</div>
</template>This component is a placeholder — once it’s rendering, replace it with whatever you’re actually building (an admin panel, a dashboard, anything else).
4. Add a Webrium view that mounts the Vue app
(Already done for you if you installed the plugin — skip to step 5.)
Create a dedicated layout with a single mount element, and point vite_assets() at the new entry file (its default argument is resources/js/app.js, so an alternate entry must be passed explicitly):
<!-- app/Views/layouts/VueDemo.php -->
<!DOCTYPE html>
<html lang="en" dir="ltr" data-theme="light">

<head>
  <meta charset="UTF-8">
  <meta name="viewport" content="width=device-width, initial-scale=1.0">

  <title>Vue Demo</title>

  <!-- Vue demo bundle (Vite: CSS & JS) -->
  @raw( vite_assets('resources/js/vue-demo.js') )
</head>

<body>
  <!-- Vue mounts here -->
  <div id="vue-demo-app"></div>
</body>

</html>
Because this view is the whole page (Vue owns everything below <body>), there’s no @yield('content') here and no separate loader/layout split — a controller can return it directly.
5. Add a controller and a route
If you installed the plugin, VueDemoController.php already exists — just add the route line below.
<?php
// app/Controllers/VueDemoController.php
namespace App\Controllers;

class VueDemoController
{
  public function index()
  {
    return view('layouts/VueDemo');
  }
}
// app/Routes/Web.php
use App\Controllers\IndexController;
use App\Controllers\VueDemoController;
use Webrium\Route;
Route::get('/', [IndexController::class, 'index']);
Route::get('/vue-demo', [VueDemoController::class, 'index']);6. Run it
In development, npm run dev starts Vite alongside PHP’s built-in server (as defined in package.json’s dev script). Visiting /vue-demo outputs the Vite dev client and the vue-demo.js module straight from the Vite dev server, with full HMR for .vue files:
npm run devFor production, build once and let Webrium read the manifest:
npm run buildvite_assets('resources/js/vue-demo.js') will emit the hashed <link> and <script> tags for the vue-demo entry from public/build/.vite/manifest.json, exactly like it already does for the default app entry on every other page.
Notes
- Each additional frontend “island” (Vue, React, or otherwise) should get its own entry key in rollupOptions.input, following the same pattern as vue-demo above.
- The rest of the site keeps using Webrium’s own view/layout system (@section, @yield, layout()) untouched — Vue only owns the pages you explicitly mount it on.
- This same setup works for React (@vitejs/plugin-react) or any other Vite framework plugin; only step 1 and 3 change.
- The vue-starter plugin only gets you to this point — a placeholder component proving Vue is wired in correctly. Building an actual admin panel, dashboard, or other real feature on top of it is on you.